Postcards From Your Travel Photos: How to...
- the Crafty Explorer
- Oct 1, 2018
- 3 min read
Updated: Oct 23, 2018
Hello everyone and welcome to my Blog! Thanks to my sister and her encouragement I have decided to try a craft Blog. In honor of her, my first post will be about the wedding post cards I created for her wedding this past July. She used them as her table numbers.
What you will need...
1) Several photos
2) Adobe Illustrator
3) Printer and paper
4) Card stands
I was requested and excited to help with my sister's wedding plans. One of the things she requested were vintage looking postcards of places her and her now husband had been to or lived in. Challenge accepted.
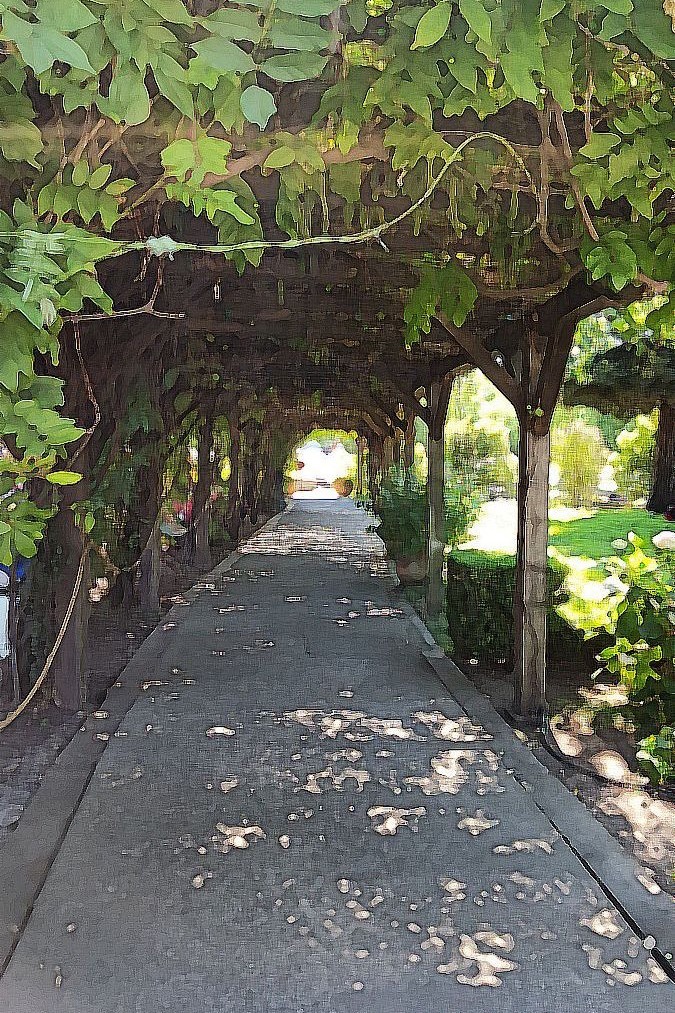
First, I gathered several photos from a given place. Usually I used a scenic picture without people for the background, but that was not always the case.
The background I wanted to illustrative and to look like someone painted it. So I found a free online website that can do simple alterations of your photos.
www.picturetopeople.org
There are lots of options to choose from but I used the Classic Art Painting Photo Effect under the Online Artistic Painting Photo Effects. These tabs are under the Photo Effects on the homepage. I uploaded my picture and played around with the Configurations until I found a version I liked. There is not a huge difference between these photos but I found it to be enough.
Second, I used Adobe Illustrator v. 19.2.1 to create the text. I followed directions from
I created a new project, starting with a 6in by 4 in canvas. The background is set in Layer 1, which is my vineyard modified picture. Next came the words. I added "Greetings from" on a second Layer using was the Brush Script MT Italic size 40pt. In a third Layer, I added the word "Napa"written in Bernard MT Condensed size 200 pt. *If you want your letters altered this is the time to do it. Select letters and choose a transform under the Effects tab. I suggest the Warp transformation.

I then copied and pasted the word, so there are two versions of Napa. The bottom Napa I darkened the color as well as added a shadow. To do this I selected the word, went to Effects at the top of my Adobe Illustrator page, selected 3D and Extrude & Bevel. The site I listed above suggested a large shadow but I like having a more subtle version. I took a screenshot of my Adobe 3D settings for those who are interested.
Finally, it was time to insert photos of my sister and her now husband into the letters. I played around with choosing one picture to go across all the letters or putting individual photos in each letter. It really depended on what kind of photos and word lengths I was using at the time.
If you are doing one picture in all the letters, place your photo behind the letters and highlight both the letters and photo. Use the make Clipping Mask under the Object tab on the Adobe toolbar.
If you are doing individual letters, you must first ungroup your letters. Highlight the entire word, and under Object choose Expand or Expand Appearance. Then you can ungroup your letters and continue. Again place your photo behind the letter of interest, highlight both the letter and photo. Finally, use the Clipping Mask under the Object toolbar. Once my new letters were created I also gave them a border to make them look more uniform.
That's it! Once I was all finished she printed them out on cardstock, cut them out and stuck cute wood based stands.
Here are some of the finished products. I included both the images and the displays at my sister's wedding. Wedding photography courtesy of Nemus Photography.


Comments